
Discover five essential strategies to get the best family portraits every time, with these tips from author and professional photographer Kirk Tuck. See how to set up a studio in your garage, pose large family groups, employ the best digital editing strategies and more.
Then, learn essential skills for capturing memorable family photos in Kirk’s online Craftsy class, Professional Family Portraits when you sign up FREE today!
Captivate toddlers to capture a “wonderment look.”

Toddlers are particularly hard to pose and it’s typically difficult to maintain their attention; make the best of the small window you have with them by limiting their distractions by getting parents out of the way so that the child only has one director: the photographer. Get down on their level, and use simple items like a lit match or a phone ringtone to capture their attention. You could even use little blinking LED lights, key chain lights, pinwheels and all sorts of small, shiny objects.
Set up a studio in your garage

In a few simple steps you can transform any garage into a studio. When you lift a garage door you will get great ambient light coming in! Whether sunny or cloudy, you’ve got indirect lighting that’s soft and somewhat directional. If the garage is cluttered, bring a gray seamless backdrop. You’ll also need white foam core, a light stand, umbrella and battery operated flash.
Test your aperture to get it right for group shots
See what your depth of field covers by taking a test shot and then looking at the image on your camera’s screen. Blow the image up really big (100% if possible) and check for correct focusing on your closest individual and the one furthest away to make sure you’ve covered them both. If the person at the rear of the group is slightly out, you’ll have to stop down a stop and try again. Try using f8 with smaller groups (five to ten) in two rows but also keep in mind that the angle of view of your lens will make a difference in depth of field. If your problem is too much depth of field you can try using a longer focal length from a little further back and doing the same test. If the person in the middle of the front row upon whom you’ve focused is sharp and the drapes ten feet behind them are sharp you know that you can open up the aperture and try again.
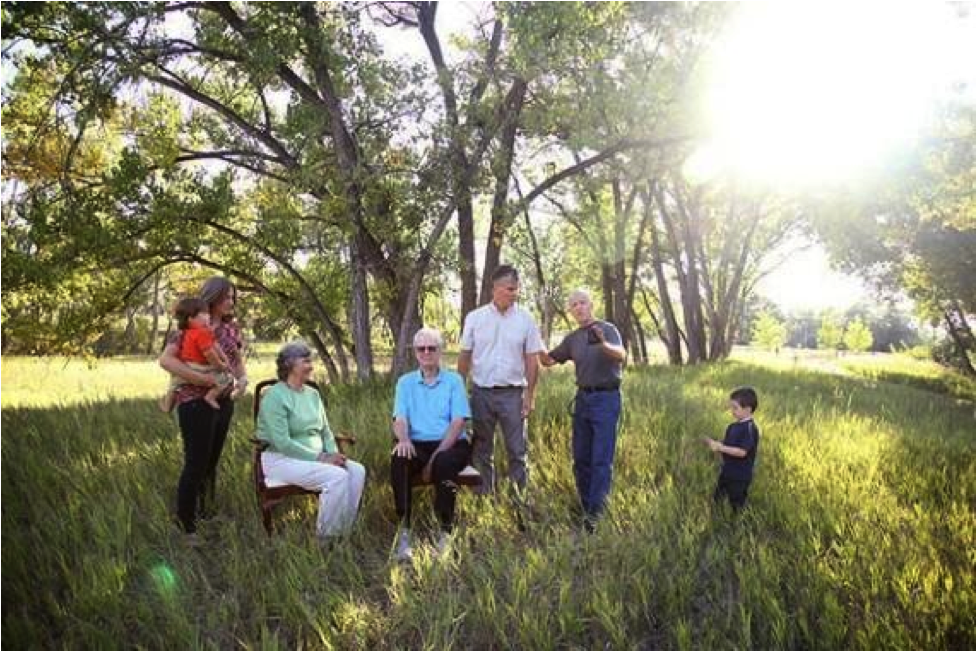
Pose large family groups by taking dynamics into account
When it comes to arranging and posing groups, odd numbers are best. Form triangles and have the family members slightly face each other to show a connection.
Use digital editing to give your photos the perfect final touch.

No photo is complete until it has been taken into the digital darkroom: Adobe Lightroom and Photoshop. Use the healing tool to remove scars and soften wrinkles in Photoshop. And, use the sliders in your layers to make believable changes in skin blemishes, like wrinkles. The best sliders to use are temperature, tint, exposure, contrast, clarity, vibrance and sharpening.
Enroll in Professional Family Portraits for FREE now, and learn advanced strategies for family portraiture as Kirk shares his best techniques for lighting, posing and composition to capture high-quality, engaging photos. Kirk will even critique your photos and answer any questions you have. And, since you’ll own your class forever, you can learn at your preferred pace and revisit techniques before your next shoot.
What are your favorite tips and tricks for capturing amazing family portraits?
Commercial photographer Kirk Tuck has photographed many extraordinary people, from President Bill Clinton to Academy Award winner Renée Zellweger. He’s also authored several books, including Photographic Lighting Equipment: A Comprehensive Guide for Digital Photographers, Minimalist Lighting: Professional Techniques for Location Photography, and Commercial Photography Handbook: Business Techniques for Professional Digital Photographers.
This has been a sponsored post kindly brought to us by Craftsy.