
We recently ran across a very informative blog post on the MeFOTO blog that we thought was very much worth sharing. This post is about cleaning your MeFOTO tripod, and we’ve given our first impressions on one of them a while ago. So without any further delay, here is just that blog post that we are republishing with permission.
Cleaning your MeFOTO is a task that may seem a little daunting at first but we’re here to show you it doesn’t have to be! You should clean your MeFOTO once a year (or more if you’ve been taking it on the beach and around salt water). Whether you have a BackPacker, RoadTrip, or GlobeTrotter, the process will be the same.
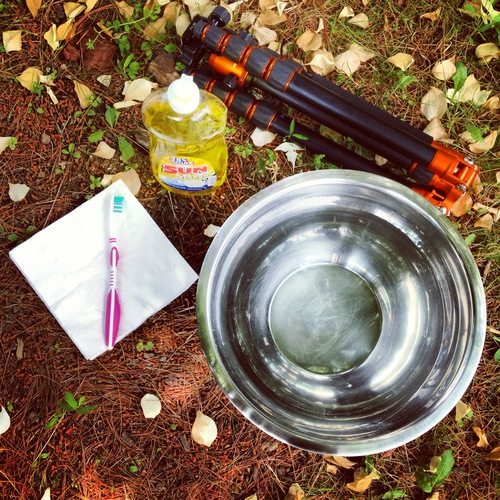
To start off you will need a big bowl of warm water, dish detergent, a toothbrush and some napkins/papertowels. Some people may prefer to wash their MeFOTO in the sink which is also an option.
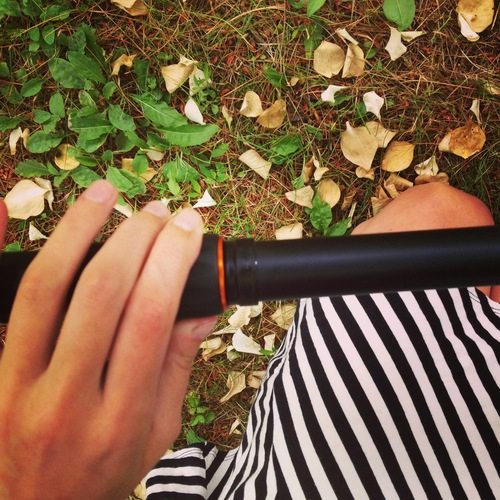
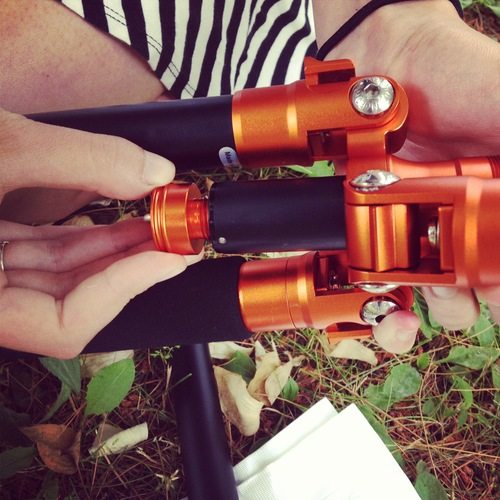
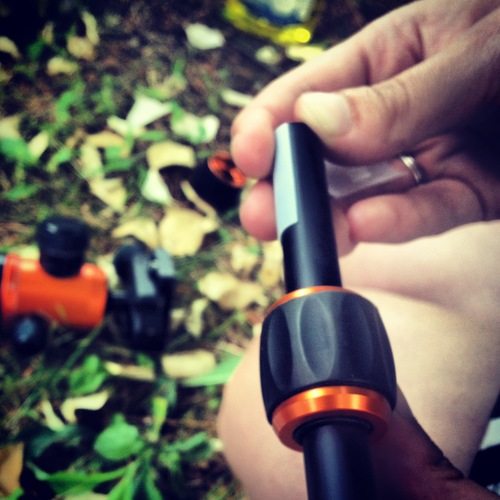
Begin by unscrewing the colored knobs of the tripod leg. They may be a little bit tight at first so be sure to give them a good twist.
Once the knob is fully unscrewed, the leg section will slide out completely.

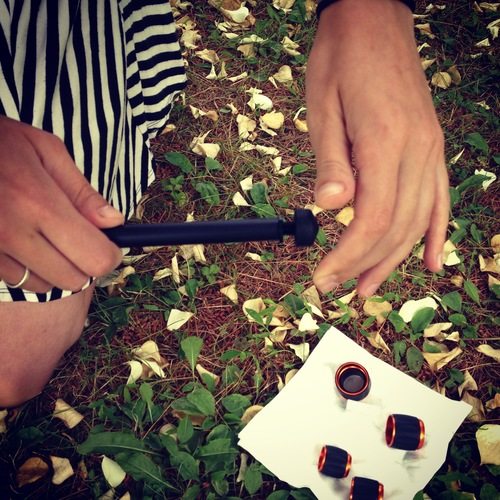
You’ll notice two white, nylon bushings will come out with the leg. Make sure you don’t lose these! Place them aside in a dish or on a paper towel for when you are assembling your tripod after the cleaning. If you need replacement pieces, please contact our parts department.
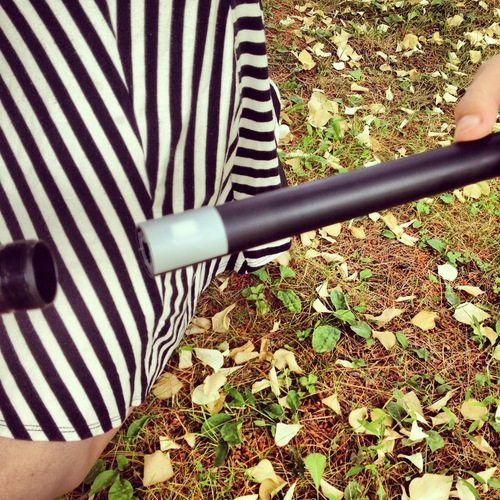
Lastly unscrew the MeFOTO’s foot. Place this too in a dish or on a paper towel so you don’t lose it.

Each leg has 4 leg section pieces, 4 knobs, one foot, and 8 bushings. Now that you have fully disassembled your MeFOTO’s legs you’re ready for some scrubbing action!

Put some dish detergent in the water to help with the cleaning.
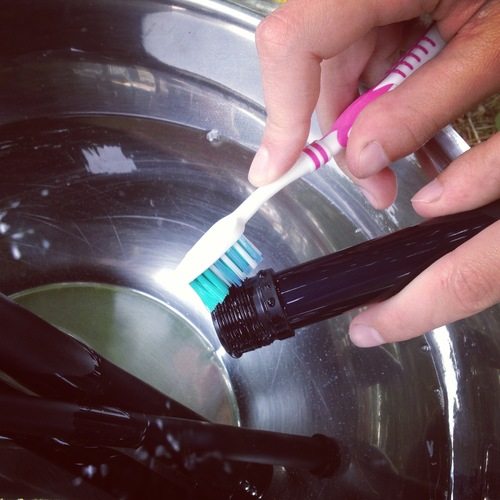
Use a toothbrush or other small brush to remove the dust and sand from the threads.
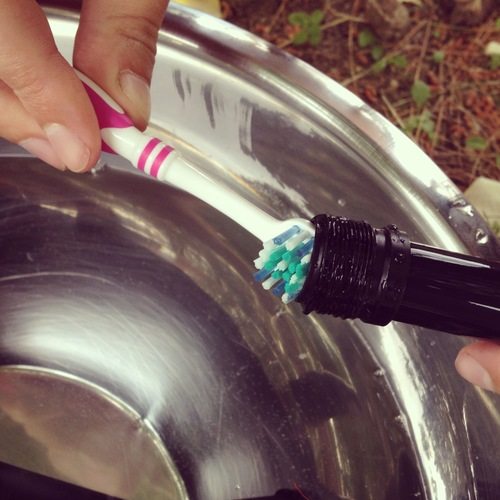
Clean the inside and the outside entries.
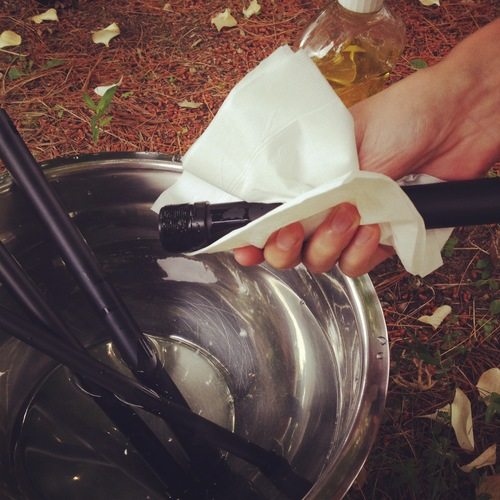
Rinse off each leg and wipe down with a paper towel. Make sure all the leg pieces are completely dry before putting it back together.
This may not always be necessary, but just in case, you may want to clean the center column too. Remove the GlobeTrotter or RoadTrip’s center column by unscrewing the neckpiece.
Unscrew the center column hook too which will enable you to remove the center column completely.
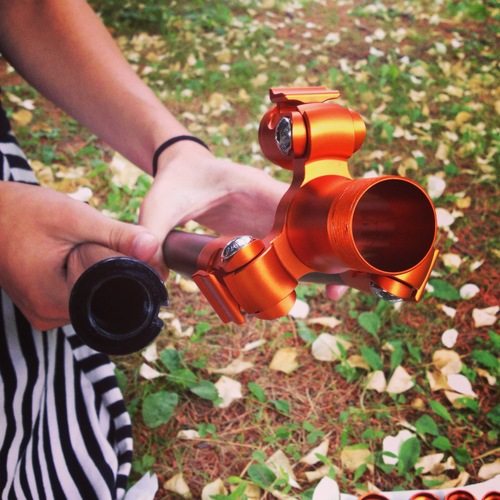
Now that the center column has been removed from the body you can wash these two pieces as well.
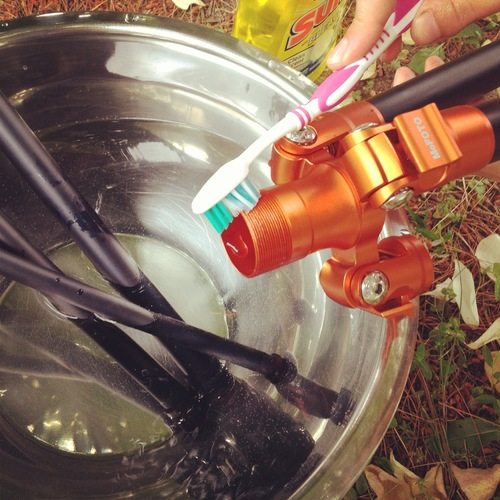
Scrub the threads on the center column the same way you did for the legs.
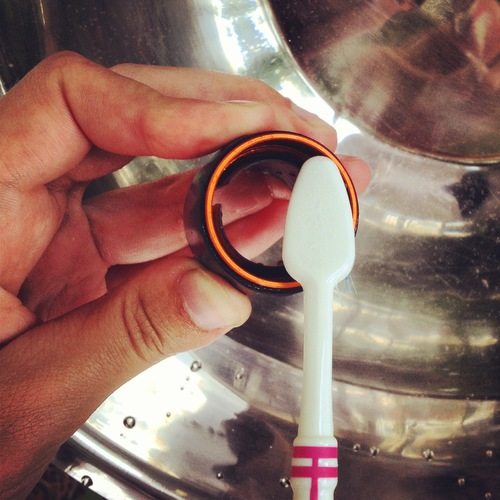
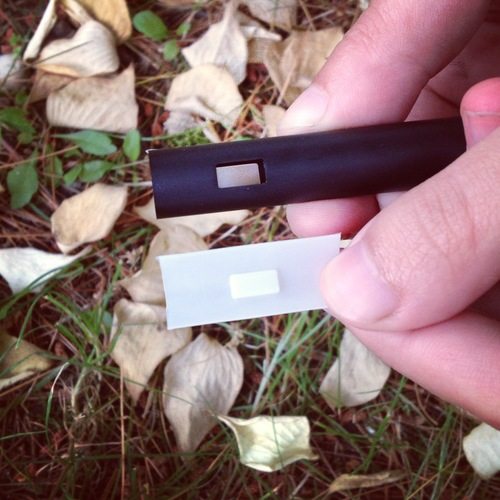
Make sure you get inside the knob also…there is an additional black nylon bushing in this knob that (as you can see in the photo) which you can remove by squeezing and pulling out if you want to be thorough with the cleaning.
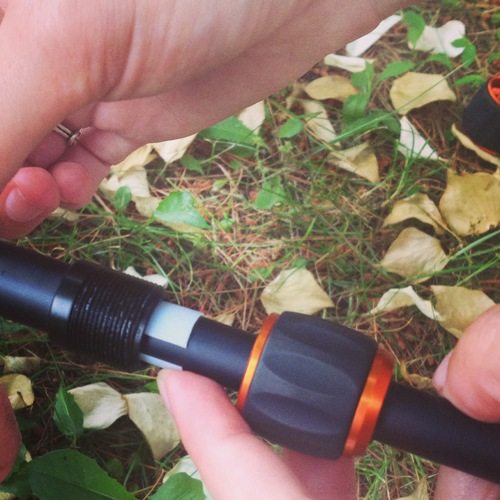
Now for the trickier part: putting the MeFOTO back together. We will assemble the MeFOTO from the bottom up starting with the skinniest leg. Put the correct size knob onto the leg. You’ll notice each knob has one smaller, smooth opening and one larger opening where the threads are. The smaller opening will face down the tripod leaving the threads facing up and ready to screw the larger leg piece into.
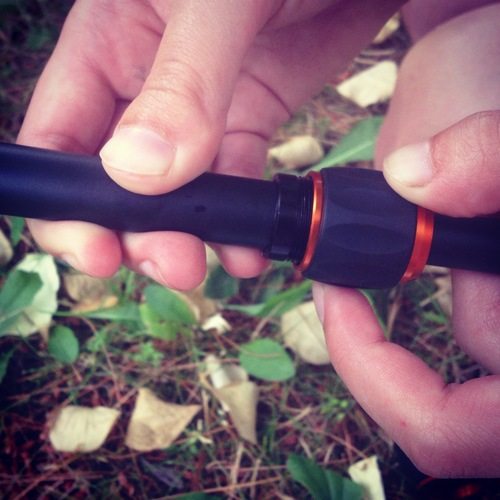
Next, match up the leg section to the bushings and you’ll see that each bushing has a protruding geometric piece that will fit into the same shaped hole on the MeFOTO’s leg piece. Place the nylon bushings onto the leg (you may need to hold them in place with your fingers).
Insert the smaller tripod leg, bushing-side first into the larger tripod leg in the sequence. The larger tripod should have the side with the threads facing towards the smaller leg. You need to insert the bushings in all the way.
Screw the knob from the smaller leg to the larger leg. Once this is secure, repeat for all the legs.
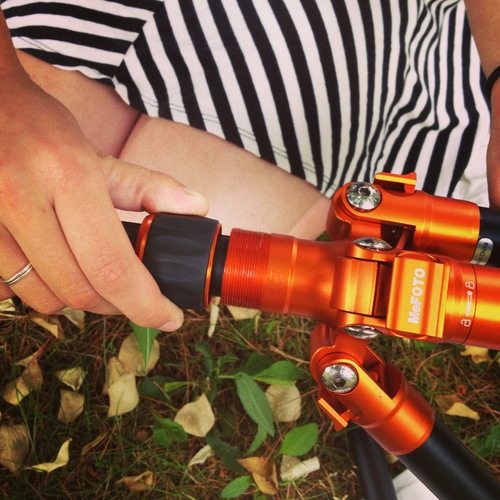
If you notice your MeFOTO’s legs are getting stiff you can put a little bit of silicone grease (which you can purchase on Amazon) on the threads of each leg to loosen them up.

Lastly attach and secure the center column and voila, you’re done!
This post was originally seen on the MeFOTO blog. Check out the whole lineup over at B&H Photo.
Please Support The Phoblographer
We love to bring you guys the latest and greatest news and gear related stuff. However, we can’t keep doing that unless we have your continued support. If you would like to purchase any of the items mentioned, please do so by clicking our links first and then purchasing the items as we then get a small portion of the sale to help run the website.